Monday, July 28, 2014

Classroom 2014-2015

Zoom in on the picture to see the whole space.
Here is a view of my classroom.  I hope my students will feel as happy as I do when walking in here.  I changed my setup a bit from last year, with 8 students in each table grouping instead of four.  This allowed me to reduce the number of bookshelves to 3, so there are more *pathways* !!!  (This is an inside joke with my good friend, Sara Van Slyke.)  Also, notice the line-up stars on the floor.  I love these, and they work!


Each student shelf houses supply caddies, a turn-in paper basket, two pencil buckets for sharpened and dull pencils, their math books, trash cans, a book basket, and tissues (the last two items not pictured).  One of the most brilliant purchases I ever made was the small trashcan for each table.  This way the students can have them in the middle of their tables while working on crafts.  No one has to get up to travel to the larger trashcans.


Last year, we had a big problem with students losing their traditional bookmarks out of these math text books.  So, this year, I decided I'd hot glue ribbon in the back of the book, which they can drape to the correct page.  I'm hoping this works! We'll see.


At some point last year, my super, supportive principal, Mr. Lowe, let me go over my classroom budget and purchase this amazing horseshoe table for my small reading groups.  I can't explain how much better this area is now than it was with a small round table.  I made all the crate seating for 7-8 students to use, and we still have plenty of wiggle and travel room.  I LOVE teaching reading in this space.  I might still add the vinyl dry-erase circles (for each student to use) like the ones I've seen floating around on Pinterest.

I'm thrilled with the way this birthday chart turned out.  I found it on Etsy.


I used vinyl letters on my whiteboard for my I Can headers.  Ignore my to-do list and messy desk that hasn't been addressed yet LOL.  I also updated my number line; I much prefer this new one.


Check it out!  I'm organized!!  The baskets came from Target.  I made the vinyl labels on a Cricut and used a chalk marker to write on them.  I also made the construction paper organizer myself using mailing boxes.  The cardboard items on the bottom are privacy shields the students use for testing.


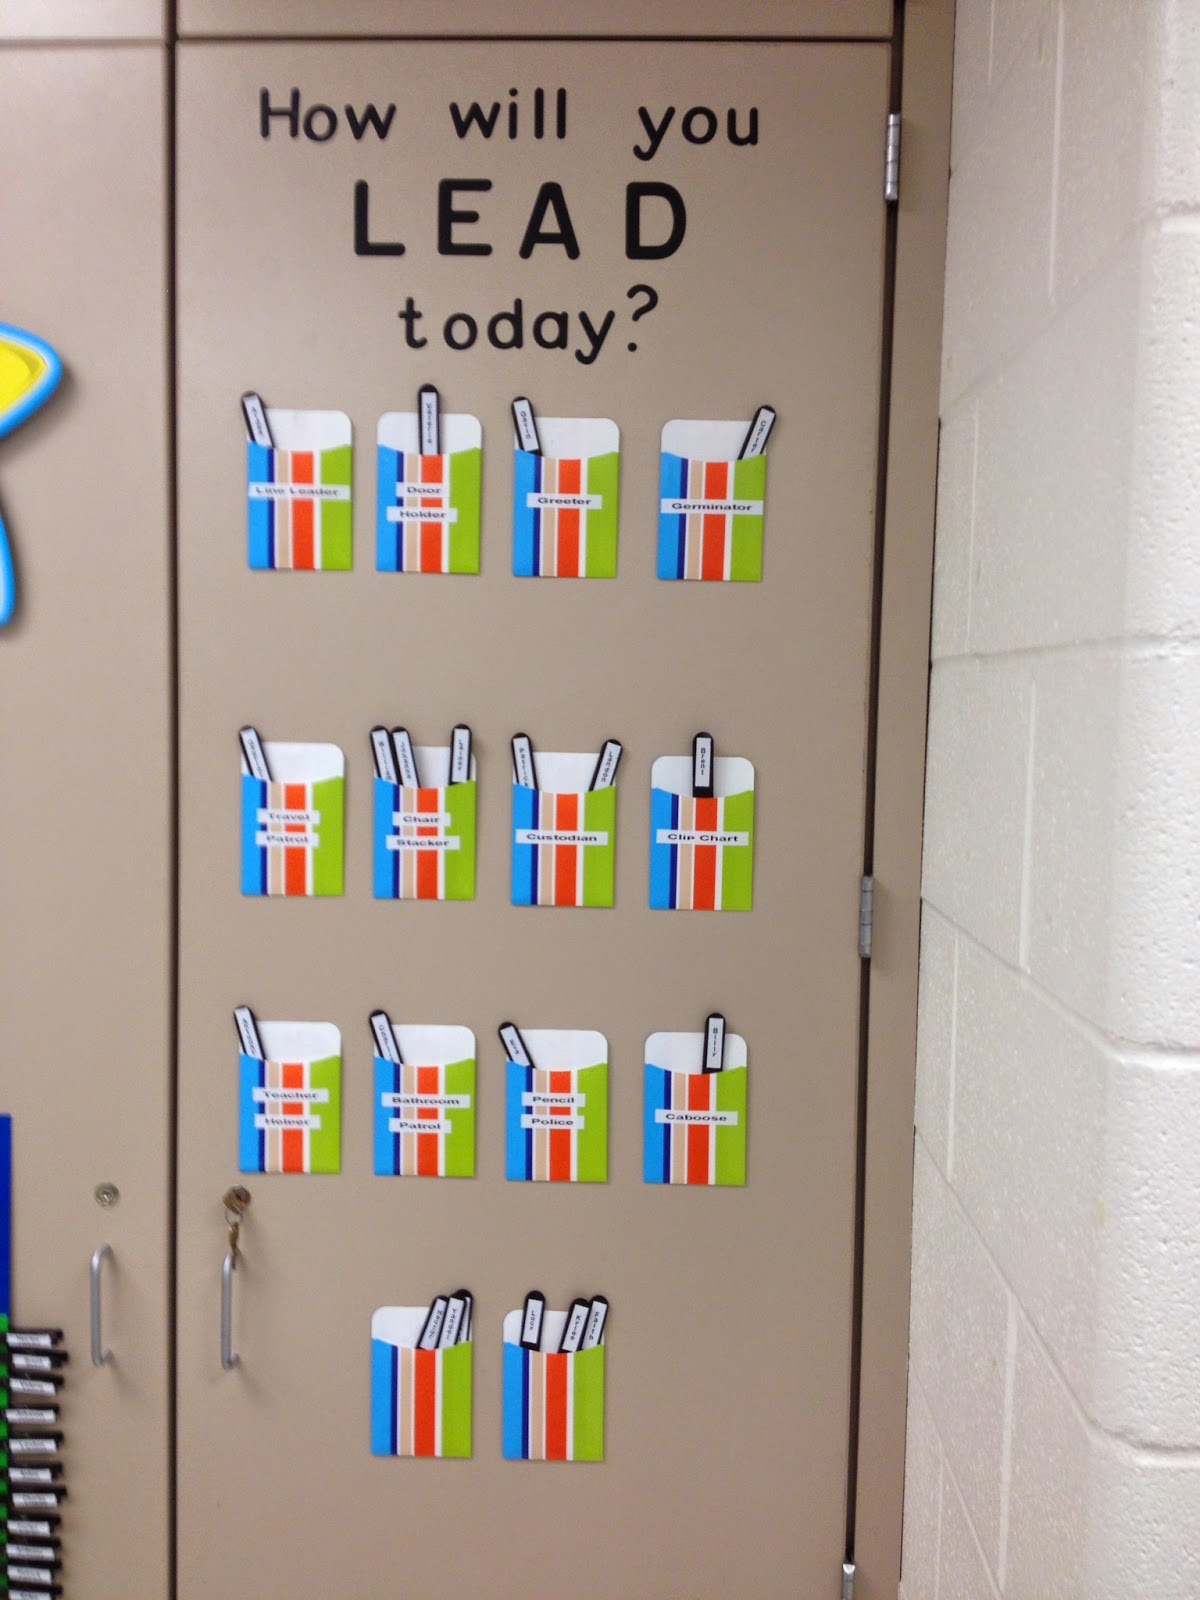
I made a new job chart this year also.  I dyed the jumbo craft sticks black with RIT dye and added the vinyl header.


I redid my behavior clip chart using folders this year instead of laminated paper.  I think this will be sturdier and hopefully won't fade.


I've even decorated my bathroom with extra content posters.  I figure ya always have that one student that spends 20 minutes in here to escape learning.  Well, not now haha!  Yes, those are Letter People alphabet posters up there.  I have the whole set.  You wouldn't believe the number of comments I get on these from adults who exclaim, "Oh! I had those in my Kindergarten classroom when I was a kid!!!" Then, of course, they immediately ask if I have the inflatable people; I don't.  I sooooo wish I did though.


Above is my Leader in Me mirror...


I am super excited about my listening center this year.  I've finally updated it to the 21st century LOL.  I downloaded all of my curriculum books into iTunes and Googled images to match each story's cover.  Then I saved those images as the track artwork in iTunes.  Now, my emergent readers can simply scroll through the song images on the iPad, find the matching book, and listen.  I also love that the iPad allows me to use Guided Access, so I can lock the students out from getting into any other app other than the listening app.


I also finally have a functional writing center!  Love how perfect this shoe shelf was for the supplies.  I can't wait to see my students using this to improve their handwriting and other writing skills.  It will take some training to teach them to properly use this.  I plan to still add a poster that shows what things they can create here.  I likely will use that hanging folder bin on the left to create "mailboxes" for the students to leave each other notes (eventually).  There are dry-erase sleeves with handwriting practice sheets inside, envelopes for sending letters, paper for making books, a stapler, crayons, erasers, letter stamps and ink pads, writing paper, pencils, pens, markers, etc.  I bet my 5YOs can tear this thing up in 5 minutes flat haha!!!  P.S. The "find-a-color" crayon sorter on the right there is another brilliant idea that worked wonders last year.  Every teacher should have one.


These are my hallway clips.  Dyed the clothespins black and cut the vinyl letters from Cricut.  I found that last year, when I used the larger stars that covered up the whole clothespin, the students could not easily clip their papers because they couldn't see where to push on the pin.  I think these smaller stars will work better.


Finally, here is my classroom door for 2014-2015.  This theme happened very accidentally.  I started with the red border and yellow star clips on the cork strips in the hallway with no theme in mind yet for my door.  Those made me think of superheroes and Captain America, so I ran with it.  I made the Incredible Hulk from tablecloth and pillow stuffing.  My wife, Alisha, drew the face after my massively-failed attempt haha.

Thursday, July 25, 2013

A Few New Projects...


No, that isn't a project I wanted to be doing this close to the beginning of school.

It's the reality though!  I've had the distinct fortune of a waterfall in my classroom.  That's right.  I've had good ole Niagara running down my classroom door.  Said leak knocked out the lights for several days, so I had the pleasure of working in the dark.  I also will get to redo my door.  Fun times!

But, hey, I have a job five miles from my house.  I ain't complainin'!  (Well, maybe a little hahaha...)

P.S. I love those chalkboard stickups from the Target dollar spot.  I hung them next to my door, so the kids will have to say the week's sight words every time they exit.  They are erasable!  So easy and cool!


My school is not doing the Leader in Me/Seven Habits program this year, but the school I worked at last year did.  I fell in love with the 7 Habits, so I'm going to still use them in my classroom as the basis of my rules and management.  I wish I'd had the time last year to make these canvases!  Yay for time and for Cricuts.  I found the 7 Habits clip art on Etsy.


I made this with a black foam project board from Dollar Store and all the rest is cardstock cut using a Cricut.  I will add the students' pictures (holding the corresponding number to the dates of their births).


I love these bookshelves.  They are made from vinyl gutters which I spray painted black.  Well, technically, I TRIED to spray paint them, but my attempt was a massive failure.  My dad redid it for me hahaha.  I mounted them with Command strips.  They stay on, but they won't hold anything heavier than a small paperback like these six books are.  I really hoped they would hold a couple of my hardback books, but no such luck unless I adhere them with something stronger to the wall.


Another view of this area of the classroom next to my reading center.  I also made the days/months poster using Cricut.  I figured -- why not?  Those posters are always so expensive at the teacher store; I might as well make my own and have it fit my color scheme.


This is not a project I did at all, but I still had to post a picture.  I LOVE this clock, and guess where I found it!?!  Not a store, not online, nope... in my parents' spare bedroom.  On a visit to their house last week, I was changing my son's diaper in what used to be my brother's bedroom.  I looked behind me and noticed this large wall clock and thought, "THAT would be PERFECT in my classroom, and I know the PERFECT spot for it."  Like any good parent should do, mine (of course) said I could have it.  I brought it to school, and it's as though it were built specifically for this spot that had been open next to my flag.  It faces where I will be sitting with my small reading group, so that will help me keep track better.  I hung it up there with one of those Command strips that has a picture hanger knobby thingy on it.  I pray it holds, because if the clock falls and breaks, I will cry and die.


This is the last thing I'll share for now.  I saw a similar idea on Pinterest, and I love it.  In a Kindergarten classroom, I am ALWAYS finding crayons on the floor.  Kids find them, too, and come up to me saying, "Mr. H, I found this!"  Now, they will know where found crayons go, and this also solves the problem of, "Mr. H, I lost my _____, or I need a _______." Need a color? Find a color!


Saturday, July 6, 2013

Classroom Setup 2013-2014

This has been a summer of firsts for me.  This is the first summer I've fathered a 3-year-old.  Said fathering has included the first attempt of potty training my son.  THAT is not for the faint of heart, let me assure you.  It has been the first summer with two children in our family -- two children (and one daddy) with extreme seasonal allergies (not particularly fun either).  I've been so blessed with my kids, however, and I feel fortunate to have had every moment with them.  My wife is also working out of the house at her bakery for the first time, and this has presented many challenges but likewise ample rewards.

Even more notably for me personally is that THIS summer is the first summer in -- well, I've really lost count of exactly how many years -- that I've known well in advance of the approaching school year exactly where and what I would be teaching.  I was hired early this time... in APRIL actually, which is almost unheard of at least from my experience.  I will be teaching Kindergarten in a wonderful school that is only a few miles from my house, as opposed to the 80 mile commute I did last year.

It has been such a blessing to have the TIME to work on a classroom and get it "just so" with enough time left before school starts to still relax.  In the past, I've always been the teacher who is working until the very last possible second (when the kids are walking in the door on Day 1) to perfect the little imperfections.  (A side note: those not involved in teaching in an elementary classroom have no idea the thousand, billion things that have to be done to get ready for a school year and how these little details just pile up to a massive, never-ending myriad of responsibilities that EAT AWAY YOUR LIFE.)  This year, knowing so early where I'd be working allowed me to complete many projects (Pinterest-inspired, of course) that I otherwise never could have finished.  Now, I'm laughing at myself while typing this, because I know good and darn well (and so does anyone who knows me) that even though I've worked hard to get a great head start on my room prep, I'll STILL be the teacher who is working until the last possible second to perfect the little imperfections...

Several of my friends have seen the progress I've made in my room this summer and suggested I put up pictures and blog about it, so here goes!


Here is a view from my door.  I love the furniture setup I'm going to try this year.  Each table group has its own bookshelf to hold student supplies, etc.  Everything is color-coordinated.  I really like the color labels I made with Cricut letters on black plates.


Here is my word wall.  For years, I've had the bad habit of putting up the letter headers and then never completing the wall with all the sight words.  This was a personal goal of mine -- to get the thing up before school started, so the kids can actually use it!  


I've never been this organized.  I finished my bulletin boards, covered the bookshelves, and then actually took the time to store my borders in an accessible way thanks to Dollar Tree containers.


I made these milk crate seats as extra seating around my small group instruction table.  I love that they will provide extra storage for handy access to supplies.


I also made these bucket seats from paint buckets and a cushion I fashioned from a circular, wooden disk from Hobby Lobby, foam, and spray adhesive.  They provide seating at my computer and writing centers.


This is probably the project of which I'm proudest.  I made this bench seat from milk crates, plywood, foam, and fabric.  Then I added the canvas baskets to house my student library.  This will be the independent reading center for the students to use.  I might add some bean bag chairs still.  I really love the way it looks.  It's comfy and sturdy, too!  (A couple friends of mine, Kristie and Jan, have converted me to the idea of using black to decorate... I got on board their train a bit this year hahaha.)

I made this one for a friend, Stacy.  I like hers as much if not more than I do mine.


This is the back wall of my classroom.  Kristie made me those curtains in the fabric that matches all the additional seating.  You can also see here my bravo boards: the black paper backgrounds with stars.  Here I can clip up (clothespins are glued under the stars) excellent student work.  I'm really liking this part of the room.

Just a close-up of curtains and some organizational bins I have...


Here are my job stars and behavior clip chart.  Can you tell I like stars?


This blasted thing took me longer than any other project I've done.  I blame my OCD need for symmetry.  And, it's still not right and frustrates me every time I look at it.  At this point, though, it's a case of "it is what it is."


Now, to the hallway.  Our back-to-school theme this year is Hollywood/movies/"setting the stage" for success.  I used filmstrip as the border and movie-star-looking stars glued onto clothespins for displaying student work.  Here is also another example of lettering on paper plates.  Loving that look!


This is hanging above my door.  It's supposed to look like an old-fashioned movie marquee.


To the right of my door, I will hang extra-special student work in the "Director's Corner."  I also plan to put my director's chair out here at least for parent night.

Classroom door with students' names popping out of the boxes...


That's all for now (as of July 6, 2013).  I have several more areas to perfect in the room and little things -- MILLIONS of little things -- to finish here and there.  I'll update the post with new pictures soon.  Thanks for having a look!!

Monday, February 6, 2012

Flowerama

Great literacy and science integration project to accompany any seed/plant study or the K reading book "Seeds." This can be done for less than 5 bucks for the whole class. Felt, straw, yarn, crayon.

Shake Em Up Phonics!

Great activity for practicing short-vowel words with Kindergarten. All available at Wal-Mart. Metal magnetic canisters in office supply/desk accessories aisle. Foam dice were foam stamps from arts/crafts that I pealed the stamp part off of and re-labeled with my own letters (sticky labels from yard sale/office section). Dry-erase boards are magnetic and come with pen that has eraser attached (handy). All students do is "shake 'em up" and then write the letters that they get. They then have to sound out the words and decide if that's a real or "silly" (nonsense) word. We then discuss the meanings of the real ones. Be careful to control what letters you put together as possibilities -- don't want any curse words coming up! Somehow you'll need to signify n and u to be differnt also because they might roll upside down.

Wednesday, January 18, 2012


Life cycle of a butterfly project for Kindergarteners. Reinforces science concepts as well as some high frequency literacy skills. For the egg, I used a kidney bean. The caterpillar is pom-poms glued together with *hot glue* (very important, extra strength craft glue did not work!). I had the students form two caterpillars; the second is wrapped into the foil (chrysalis). Finally, the students use watercolors to paint one side of a coffee filter. After it dries, clip on the clothespin. Glue all to the paper with craft glue. There you have it... a butterfly project to accompany "Very Hungry Caterpillar" that drives home the science as well. The kids absolutely loved this! I will be repeating this every year. The only thing I might do differently next time is draw boxes for them to specifically glue the stage names in place. I might also make the shape of the paper into a circle so that the cycle can be seen as circular (never-ending).

Sunday, January 15, 2012


Easy Behavior Management tool. Student's behavior chart goes on front of clipboard to travel with child. Pictured is reverse of clipboard with Velcroed coins. Left is teacher bank; right is student bank. This approach allows the student hands-on ownership in the process.