 |
| Zoom in on the picture to see the whole space. |
Each student shelf houses supply caddies, a turn-in paper basket, two pencil buckets for sharpened and dull pencils, their math books, trash cans, a book basket, and tissues (the last two items not pictured). One of the most brilliant purchases I ever made was the small trashcan for each table. This way the students can have them in the middle of their tables while working on crafts. No one has to get up to travel to the larger trashcans.
Last year, we had a big problem with students losing their traditional bookmarks out of these math text books. So, this year, I decided I'd hot glue ribbon in the back of the book, which they can drape to the correct page. I'm hoping this works! We'll see.
At some point last year, my super, supportive principal, Mr. Lowe, let me go over my classroom budget and purchase this amazing horseshoe table for my small reading groups. I can't explain how much better this area is now than it was with a small round table. I made all the crate seating for 7-8 students to use, and we still have plenty of wiggle and travel room. I LOVE teaching reading in this space. I might still add the vinyl dry-erase circles (for each student to use) like the ones I've seen floating around on Pinterest.
 |
| I'm thrilled with the way this birthday chart turned out. I found it on Etsy. |
I used vinyl letters on my whiteboard for my I Can headers. Ignore my to-do list and messy desk that hasn't been addressed yet LOL. I also updated my number line; I much prefer this new one.
Check it out! I'm organized!! The baskets came from Target. I made the vinyl labels on a Cricut and used a chalk marker to write on them. I also made the construction paper organizer myself using mailing boxes. The cardboard items on the bottom are privacy shields the students use for testing.
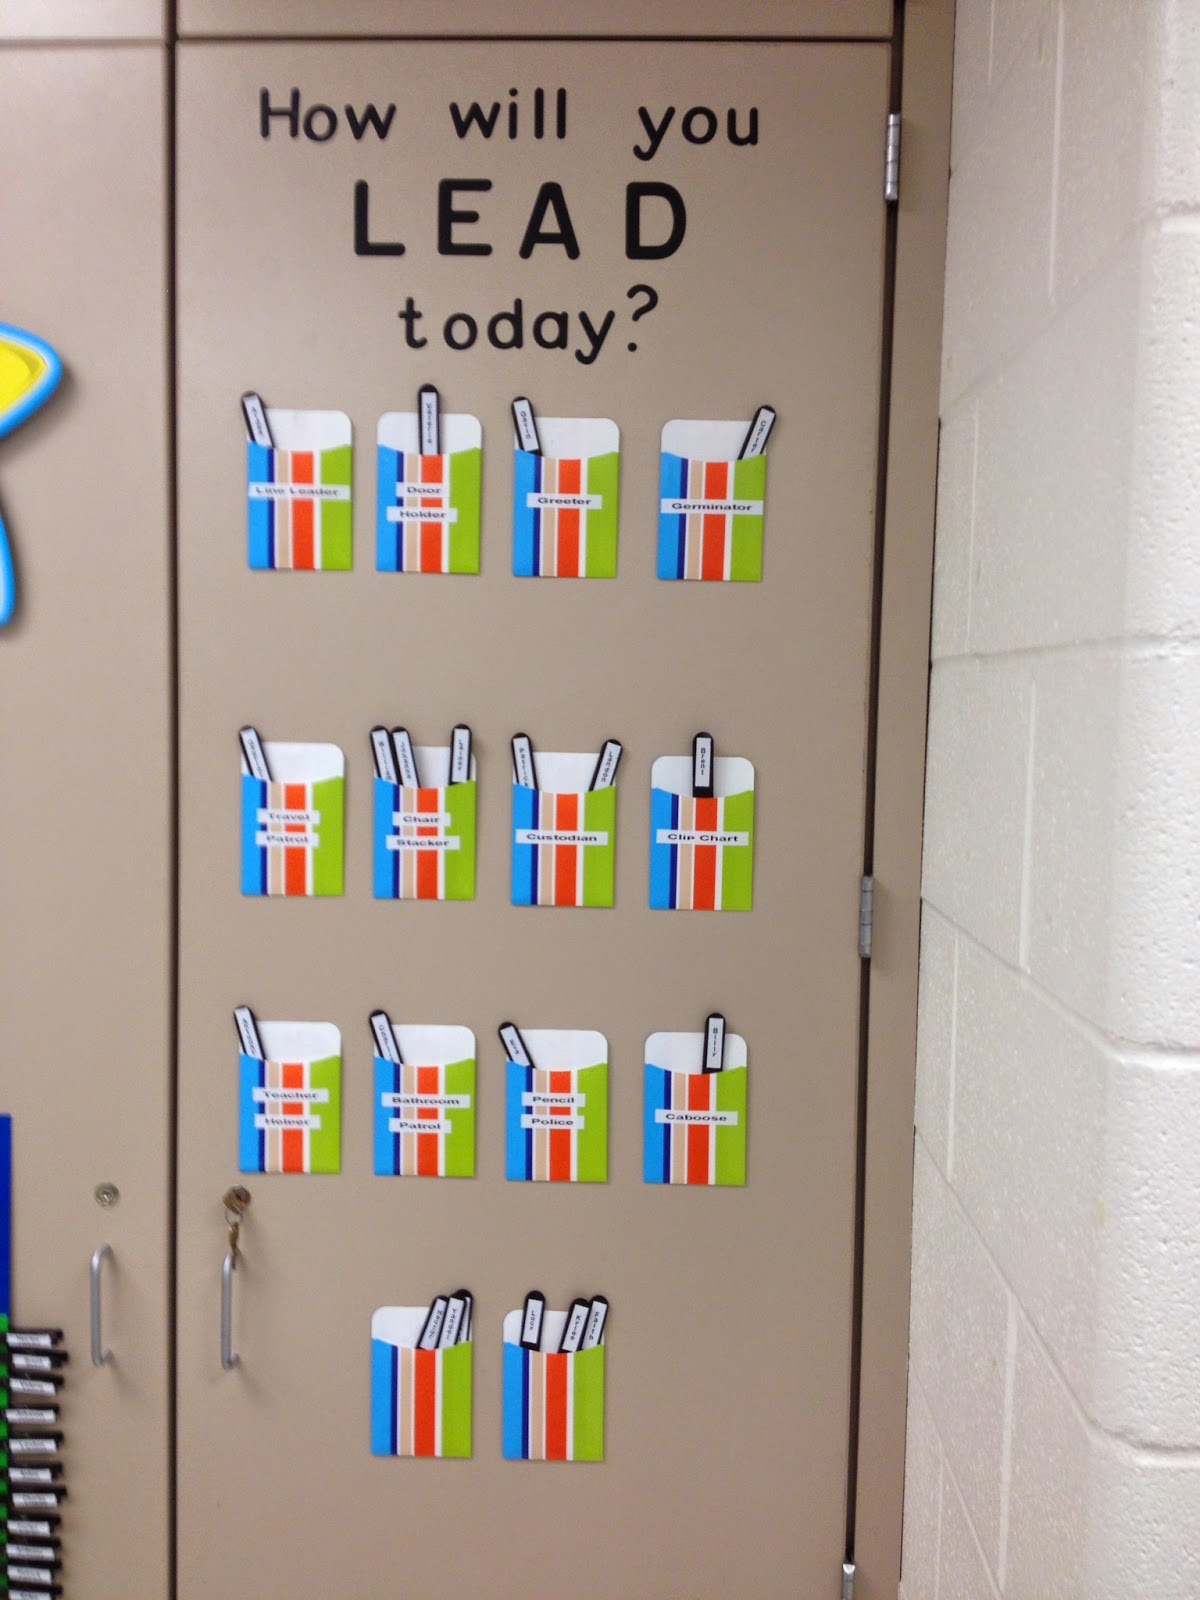
I made a new job chart this year also. I dyed the jumbo craft sticks black with RIT dye and added the vinyl header.
I redid my behavior clip chart using folders this year instead of laminated paper. I think this will be sturdier and hopefully won't fade.
I've even decorated my bathroom with extra content posters. I figure ya always have that one student that spends 20 minutes in here to escape learning. Well, not now haha! Yes, those are Letter People alphabet posters up there. I have the whole set. You wouldn't believe the number of comments I get on these from adults who exclaim, "Oh! I had those in my Kindergarten classroom when I was a kid!!!" Then, of course, they immediately ask if I have the inflatable people; I don't. I sooooo wish I did though.
Above is my Leader in Me mirror...
I am super excited about my listening center this year. I've finally updated it to the 21st century LOL. I downloaded all of my curriculum books into iTunes and Googled images to match each story's cover. Then I saved those images as the track artwork in iTunes. Now, my emergent readers can simply scroll through the song images on the iPad, find the matching book, and listen. I also love that the iPad allows me to use Guided Access, so I can lock the students out from getting into any other app other than the listening app.
I also finally have a functional writing center! Love how perfect this shoe shelf was for the supplies. I can't wait to see my students using this to improve their handwriting and other writing skills. It will take some training to teach them to properly use this. I plan to still add a poster that shows what things they can create here. I likely will use that hanging folder bin on the left to create "mailboxes" for the students to leave each other notes (eventually). There are dry-erase sleeves with handwriting practice sheets inside, envelopes for sending letters, paper for making books, a stapler, crayons, erasers, letter stamps and ink pads, writing paper, pencils, pens, markers, etc. I bet my 5YOs can tear this thing up in 5 minutes flat haha!!! P.S. The "find-a-color" crayon sorter on the right there is another brilliant idea that worked wonders last year. Every teacher should have one.
These are my hallway clips. Dyed the clothespins black and cut the vinyl letters from Cricut. I found that last year, when I used the larger stars that covered up the whole clothespin, the students could not easily clip their papers because they couldn't see where to push on the pin. I think these smaller stars will work better.
Finally, here is my classroom door for 2014-2015. This theme happened very accidentally. I started with the red border and yellow star clips on the cork strips in the hallway with no theme in mind yet for my door. Those made me think of superheroes and Captain America, so I ran with it. I made the Incredible Hulk from tablecloth and pillow stuffing. My wife, Alisha, drew the face after my massively-failed attempt haha.


This comment has been removed by the author.
ReplyDeleteThis comment has been removed by the author.
ReplyDeleteWhere did you get the clip art for your door?
ReplyDelete